Showing posts with label Terrain. Show all posts

Sunday, 16 April 2017

Making Rivers - large ones for a change!


Like many of you I have frequently used rivers in my wargames but they have invariably been quite small and represented with rather crude strips of vinyl, plastic or even painted card. Recently I decided to change all this and up the ante by making a really large impressive river! What I had in mind was something which would grace my jungle terrain and do justice to the 28mm armies that I had made for my Ten Years War in Cuba project. I was also intrigued by the idea that something made for 28mm models could later be used for smaller scales such as 20mm or 15mm and would then give a really spectacular feel to the terrain.

I had various pieces of thin mdf and fibre board lying around in the garage and I decided to take a selection of lengths and cut them to a standard 16 inch width. Once that was done I marked out the course of the river leaving roughly 3 inches on bank on each side and a strip of water down the centre which would then be 10 inches wide. I also wanted a curved section and I marked out the board being careful to keep the strip of water 10 inches wide to match up with the other boards:


With the boards marked up I began the job of painting them. I used acrylic paint (great big tubes from one of the cheap shops!) and applied a thick coat of dark green:


Once the  chosen area was covered I blended in streaks of blue and even a little brown in the centre of the river where the colour is naturally darker:


When the boards were completely dry I began the job of adding grass to the river banks. I decided to use Gaguemaster Scenic Mat opting for the GM20 shade of spring green since this most closely matched the rest of my jungle scenery. The mats are available from model railway suppliers and come in several different shades, a roll of 75 x 100 Cm typically costing about £8.00. (If you can't obtain this stuff or prefer other options you can of course use pva glue and flock or even pva glue and sand which can then be painted.)
 
I cut the mat into strips making the actual riverbank a little irregular and then glued the pieces into place with pva being careful to maintain my 10 inch strip of water down the centre.


I also cut the pieces with an extra inch and a half or so around the edges so that I could fold them round the edge of the board to give a neat finish; I did this by cutting the corner at an angle just like you did when you backed your school exercise books with wallpaper (guess I am giving my age away now!)
 

Finally I used gaffer tape to tidy up the edges and keep the mat firmly in place:

 
Once the pva was dry I could begin work on adding a little detail. I ran a thick streak of pva down each bank and then sprinkled sand into the wet glue


At one or two points I added large blobs of glue and placed into it a few pebbles or pieces of fine grit to add a bit of interest:
 
 
Once the glue was dry - I left it for 24 hours - I was able to shake off the excess sand and grit and begin varnishing. I applied a thick coat of gloss varnish over the area representing water and I also ran it over the sand and pebbles. As soon as the varnish is applied the rather dull colour of the paintwork springs into life and the whole thing begins to look much better:


I applied three coats of varnish in total to give a deep gloss finish and I highlighted a few spots with brilliant white paint to represent waves and foam.

 
As you can see in this view I made one section which contained a ford made from sand, grit and pebbles glued in place with pva and also heavily varnished. This section was livened up with a couple of twigs to represent driftwood and the area was also highlighted with white paint:


When everything was properly dry I took a few pictures with my Cuban cavalry charging across the ford so that you can see how the finished article looks:


Overall I am really pleased with the result and think that it was well worth the effort. I am off now to consign all my old bits of vinyl and card river sections to the bin!


Tuesday, 9 August 2016

Buildings and Crops for my Ten Years War in Cuba Project

Once my jungle was complete it was time to add a few buildings and fields to represent the plantations and agricultural settlements around which much of the war was to revolve. First of all I made a couple of shacks which would have housed slaves and agricultural labourers:


Here is a close up of one of the shacks, you can see them both in views of the completed jungle. Made from foam board to a very simple design with card and coffee stirrers. The roof was made from card and covered with pva glue and raffia.

I also built a small jungle hut; it can either be used as part of the main settlement or set off deep in the jungle as a base for some of the Cuban insurgents:


Again I used a very simple construction method, in this case everything was based on an empty Pringles tube! I cut the tube down to size, covered it with pva glue and lengths of skewers held in place with elastic bands until the glue dried. A simple card roof was added and to this I glued palm leaf shaped pieces of painted card; detailing was finished with a black felt tipped pen.

The agricultural economy was crucial to Spain and in efforts to protect this source of wealth the armed forces constructed many blockhouses - later on in the was a whole line of them was constructed (the Trocha) cutting the island into two and isolating the rebels at the Eastern end.


I used foam board again with coffee stirrers for the door and lining the loopholes. The roof was made with corrugated card glued into place, painted and detailed with a felt tipped pen as before.


That completed my initial settlement though I plan to add more as the project progresses; ideally I would like another couple of huts, a church and perhaps a more substantial plantation owners house. It would also be interesting to build a mill and boiling house since these were vital buildings on any plantation, but that's in the future.  When I eventually get round to building them I will feature them here but for the moment the next thing I needed was fields or crops.

Sugar cane was crucial to the Cuban economy and was a source of great wealth for the Spanish Government, so a field of the stuff was next on my list:


I made it by drilling rather a lot of holes in a piece of wood ! Into these I glued pieces of skewer which I had painted and partially split at one end; then, very painstakingly I glued leaves into the split ends. Not strictly botanically accurate but good enough for my purposes and good enough to restrict the passage of troops just like the real thing.


Various bits and pieces of greenery that I had left from making the jungle were glued to another base to make a small field of mixed crops. This was an essential part of any plantation since the crops were used to feed the slaves and other workers:


A final addition, and essential for the diets of the agricultural population, were plantains or bananas to you and I. Another base board was drilled and then filled with suitable looking bits and pieces from my jungle raw materials. Once the glue was dry I had the fiddly job of painting the appropriate parts bright yellow to represent my bananas:


Again they may not be entirely correct from a botanist's point of view.....but hey! Making model bananas is not something that I do every day.


Friday, 5 August 2016

Making Jungle Terrain for my Ten Years War in Cuba Project

First of all, how to make the jungle? As I had already decided that the best scale for the model figures would be 28mm and I would therefore set about building jungle terrain to suit. Although I had made quite a lot of terrain in the past (for my son who was interested in Warhammer) I had never made a jungle or anything remotely like it. Luckily I found lots of useful stuff on the internet but I have to give special thanks to Major Thomas Foolery for the invaluable advice contained on his blog: http://majorthomasfoolery.blogspot.co.uk and I pinched a lot of his ideas.

I wanted the terrain to be very flexible and decided to build it on small stands which could be rearranged as needed. A visit to Hobbycraft furnished me with small plywood discs which were ideal:


These particular ones came in packs of six and cost £1-80. I also bought a couple of others types, some at six and a half inches in diameter, some three and a half inches square, and a few rectangular ones measuring three by two inches. They were all sprayed with matt black, coated with pva glue and green scatter or flock, and then left to dry.

When the stands were ready for further work I assembled all of my raw materials:


Different grades and colours of scatter material and sheets of self-adhesive grass tufts also in different colours, all easily available from the local model shop. (Probably the best model shop in Greater Manchester for military related items, and the one I use regularly is F and S Scale Models in Audenshaw.)


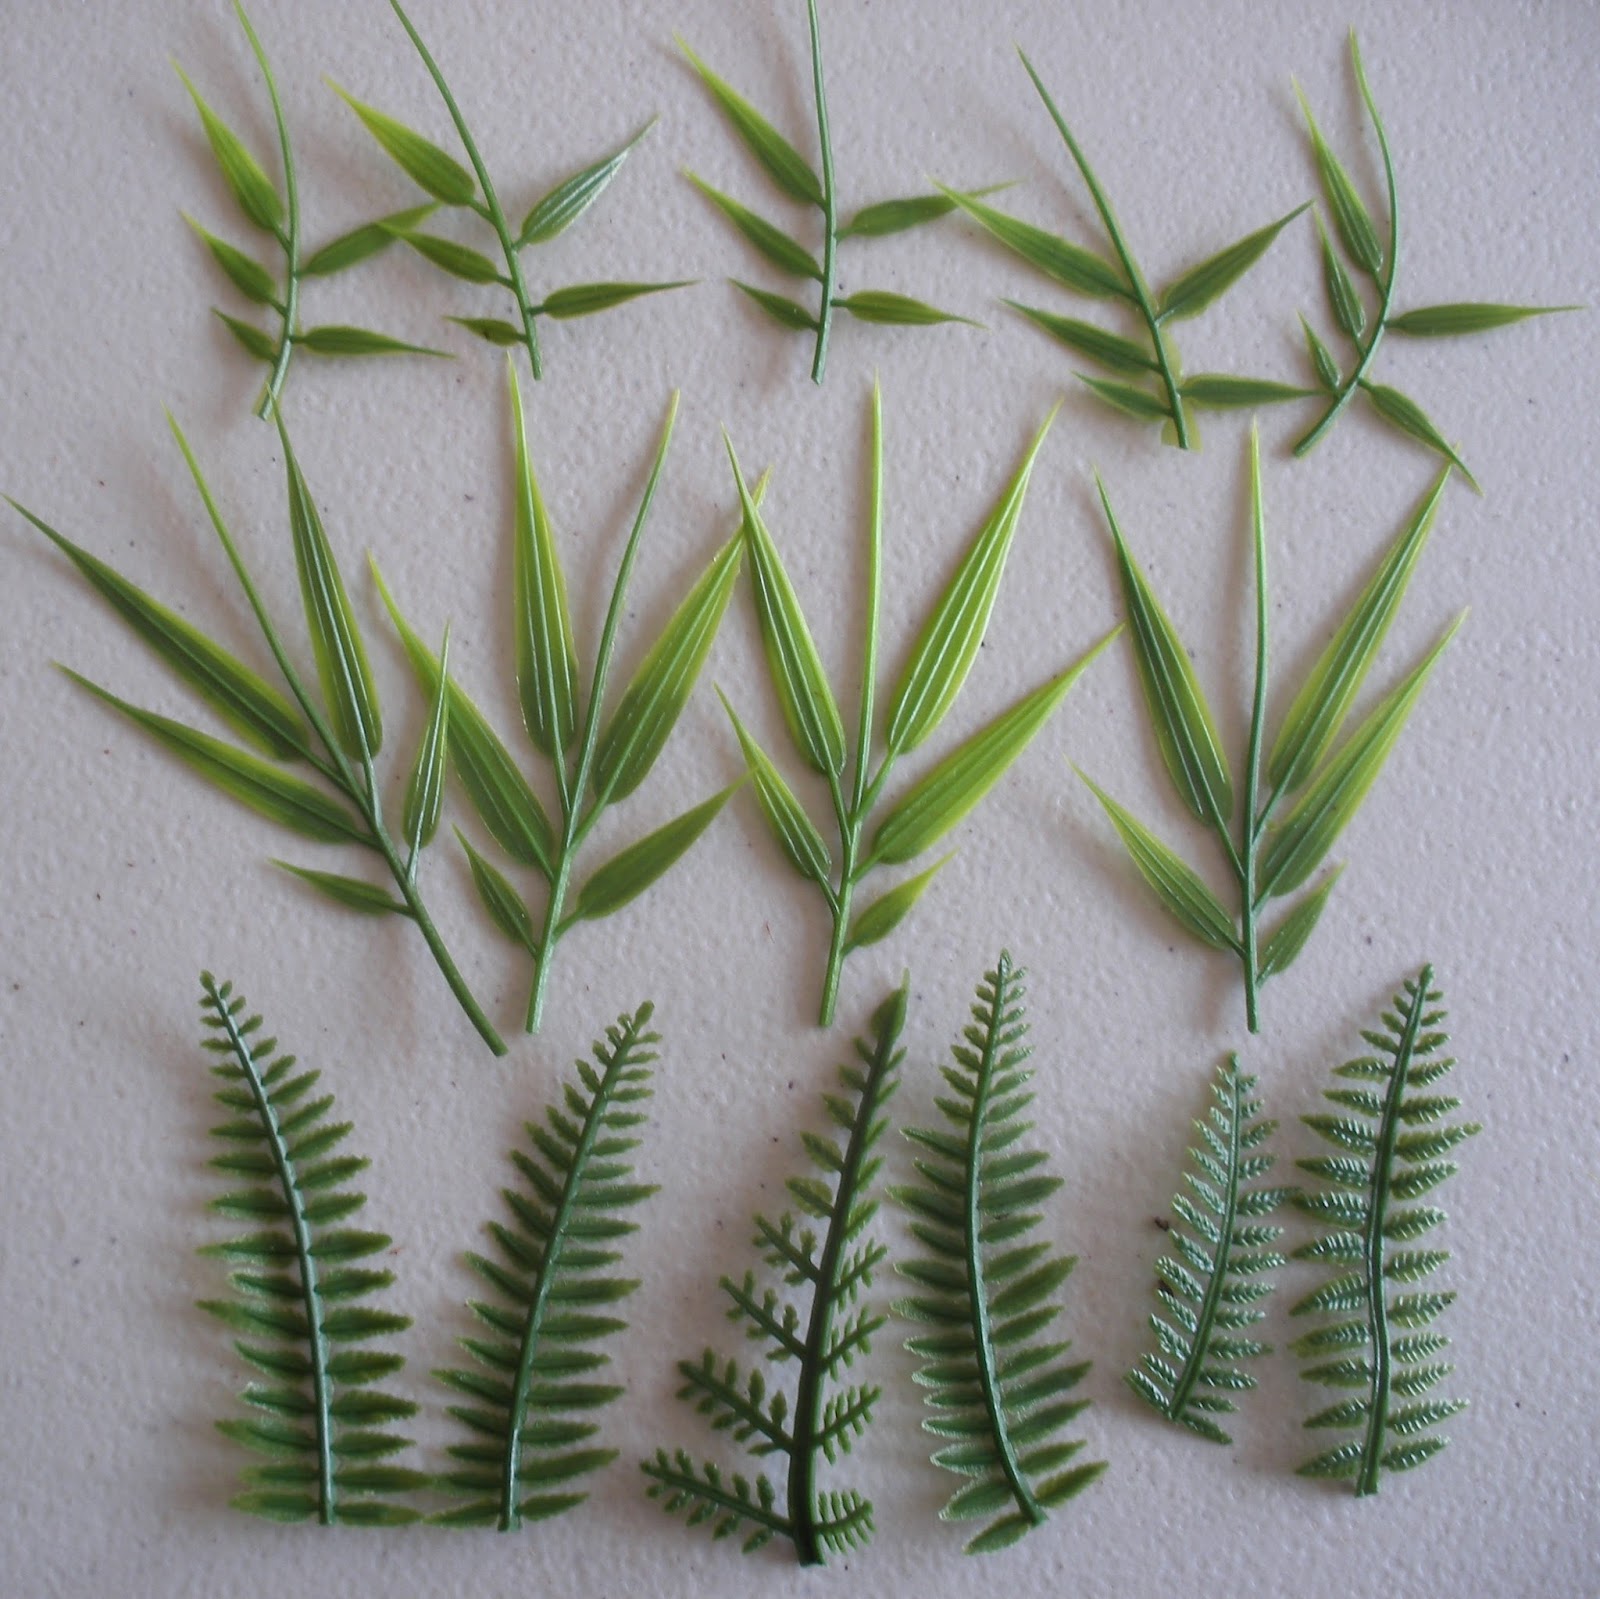
I obtained a variety of plastic leaves and foliage from a large local garden centre; much of the greenery came from the floristry section and other odd items were found in the pet, reptile and aquarium areas. (If you live in the North West then you cannot do better than visit Gordon Rigg Garden Centre which is where I obtained most of these materials from.)


Reindeer moss or lichen I am sure you are familiar with, but instead of buying it form the model shop I bought a huge bag of the stuff from a floristry shop for just £2-00!


Cork came from the reptile section of our extremely useful garden centre. As well as the large chunks shown here they also had sections of bark in branch form; I bought one branch for £3-50 and used it to make the four large stands of tree trunks that you will see a little later.
 

I collected together a few suitable rocks and stones form the garden along with appropriately gnarled twigs. On the top right of this photograph is a handful of pot pourri which contained a number of interesting leaves and pods, on the bottom left is the same stuff which has been crunched up.

That's it! Everything that I would need was spread out on the table ready to be assembled. I plugged in and switched on the hot glue gun then set to work.
 
First of all I worked on the small wooden discs which had already been coated with green scatter material. I simply dabbed blobs of hot glue onto the surface and quickly stuck leaves, moss, twigs etc. in place in an entirely random fashion. I will not bore you with pictures of all of the stands (I made about thirty!) but here is a photograph of two of them just to give you the general idea:
 

The larger bases were used to make huge tree trunks such as you might find in a rainforest; I have only modelled the lower part of these tress as I wanted to be able to get in amongst the foliage to place model figures for my wargame. The pieces of cork branch were glued in place first and were then festooned with string that had been soaked in pva to represent creepers. If the sawn edges of the cork could be seen I toned them down with a little paint before adding random foliage, leaves etc. to the rest of the base:


Palm trees were added to some of the bases and when I ran out of the shop-bought wooden ones I made a few more by laminating pieces of cardboard together with pva. I then treated them exactly the same as the wooden ones and added my trees:


 Bamboo I used was of two types, some of it was shop bought and simply added to the prepared square bases:


But I also made some stands of bamboo myself. When I was on holiday in Madeira I visited the botanical gardens and was surprised to see that some species of bamboo would grow to thirty or forty feet in height and would also be so dense as to be impenetrable. To make something similar I drilled lots of holes in some of my square bases; into them I glued skewers that had been painted green and then covered with rings drawn in felt tipped pen. On the top of each skewer I then used superglue to attach suitable foliage:


These stands of bamboo were the final element of my basic jungle which you can see in some detail in the page headed Completed Jungle Terrain for my Ten Years War in Cuba Project.

I still wanted to add more terrain in the form of swamp, rivers, fields of crops, roads or paths and buildings and I will cover each of these in further posts.


Monday, 1 August 2016

Quick-build roads for my Ten Years War in Cuban Project

Once the main body of my jungle had been built and a few buildings had been added it became apparent that I needed some jungle roads or tracks. I thought that I would share my simple method of making roads quickly, easily and cheaply!

 
First of all buy a cheap pack of self-adhesive vinyl floor tiles. The ones I obtained were 12 inches square and I cut them into strips each 6 inches wide. I wanted a road of 2 inches width so, on the backing paper of the tile I marked the edges at 2 and 4 inches, then I drew the rough outline of my road between these markers as you can see in the photograph above.


Next I used a sharp craft knife to cut away the backing paper following the rough outline that I had drawn. This exposed the sticky side of the tile as you can see here.


I then poured sand coloured flock onto the sticky surface and pressed it down. This represented the surface of my road and as soon as it was in place I removed the remaining backing paper exposing the rest of the sticky surface; onto this I poured green flock and lightly pressed that into place. That's it, a road made in minutes!

Of course you can then embellish it to suit your terrain, period, location etc. Since I was making roads for the Ten Years War in Cuba I added suitable elements of jungle greenery:


Here are a couple of finished road sections patrolled by a Spanish infantry column. I have added reindeer moss, tree stumps and other bits and pieces to enhance the effect. By the way the tree stumps are made from cinnamon sticks, a packet of ten from the floristry section of our local garden centre coast me just 99 pence!


A small group of Cuban cavalry galloping along a couple of curved road sections. If you are making curves like this think carefully about marking out the tile so that the roads interconnect properly.

Of course this simple method of making roads and pathways can be used for any period and scenario of wargame. Cut straight lines and use a tarmac coloured flock for modern roads; finish them off by sticking card to the sides, draw lines on them and you have pavements. Likewise you could stick pre-printed paper in the centre to represent cobblestones or some other surface and again finish the sections off with cardboard pavements to the sides. The different adaptations are endless and should furnish you with whatever roads you need!

Sunday, 31 July 2016

Completed Jungle Terrain for my Ten Years War in Cuba project.


Three or four weeks after starting on my project I now have a fairly impressive jungle:

General view of the newly completed jungle. I have used fairly small bases of either 3 or 6 inches in diameter so that the stands can easily be rearranged to give an infinite variety of layouts.

Another general view which also shows part of the backdrop picture. I still need to expand the backdrop and also add a view with more sky.


A general view of the stream snaking across one side of the table, and a close up of the same area.


As the Ten Years War progressed the Spanish Army began to fortify important areas and also established blockhouses to protect plantations and mills, consequently a number of buildings and fields of crops were also required:

 
The more civilised end of my jungle! A Spanish blockhouse in the foreground with a field of sugar cane to the right and a cultivated field and cottage to the left, with a second closer view.


A higher angled view of the whole setup with a road snaking through the settlement and my crop of banana plants in the foreground!

 
A second high angle view of the whole table so far with my half finished jungle backdrop to the rear.